PREREQUISITES:
---
Installation of Report Runner (Batch, Viewer, Documentor, and Administrator) is simple and straightforward. Following is a list of steps, one-by-one, that will take you from beginning to end:
1) Download the software
2) Run the setup executable name Report_Runner_Setup.exe (right-click on it, and Run As Administrator). 
3) This is the first window you will see (after initialization process). 
4) Next, read the Happiness Disclaimer, and click Next. 
5) Review the License Agreement, and click Next. 
6) IF you see the following screen, you need to download and run the installer for the Visual C++ 2015-2019 (or later) -- If you do NOT see the following screen, you can jump to #7. 


7) Select which product(s) you want to install, and click Next. 
You see options for Viewer, Batch, Documentor, and Administrator here, because the same installer is used for all of those applications.
8) Enter requested information, and click Next; this information is used to (optionally) auto-open a help desk ticket to us if there is any kind of major application crash 
9) If you are installing Report Runner Batch or Report Runner Documentor, they can be (optionally) password protected. If you are installing the Administrator application, you MUST enter a password for it. Why? Because the Administrator application can be used to clear or change the passwords for Batch and Documentor. Enter your password(s), and click Next 


10) Enter your Program Files directory (default should normally be used -- please do not change), and click Next 
Note: If you have an older release installed, you will see a screen like this to let you know the installer needs to uninstall the previous version first. 
11) Enter your Jeff-Net data folder (default should normally be used -- do NOT remove Jeff-Net as last folder), and click Next
Note: This directory MUST BE WRITEABLE by anyone and anything. We store ALL application settings in this directory now (except for some licensing keys that get set in registry). Also, note this directory because this is the only directory (and it's subdirectories) you need to back up to save everything "Report Runner" related. If you install this software to another machine, simply copy this directory to the new machine and you should be able resume work immediately.
What's "Jeff-Net"? Why does this folder end with "Jeff-Net"? This is a legacy setting. The original name of the company was "Jeff-Net" years ago. To maintain settings and not break anything with new releases, we keep it the same. 

Important: Make note of the above path. This is your Report Runner documents folder. Application data and settings are stored in this folder and sub-folders. Log files are also saved into this directory structure.
12) Enter your short-cut folder (default should normally be used), and click Next. 
13) You are ready to INSTALL; this is your final confirmation before files start being copied; click >>INSTALL>> to begin. 
14) This window displays while files are being copied/installed. 
15) Once the Crystal Reports runtime installation begins (after the main files are copied), you will one or both of the two following windows
NOTE: This install can take a few minutes to run 
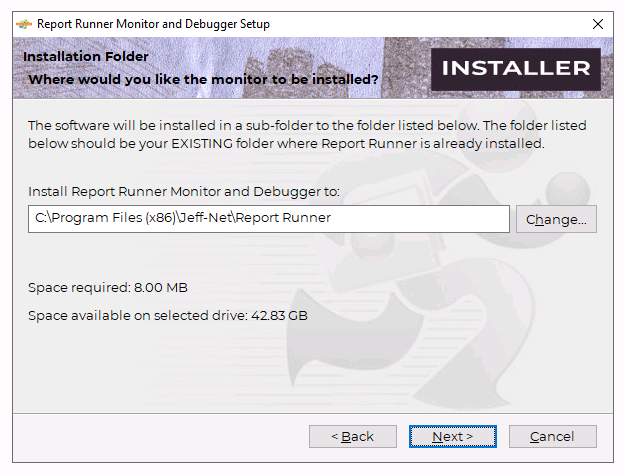
16) If you selected to install the Report Runner Monitor application, you will see the following screens. 


17) If you are using the End of Batch Notification Report, you will need to have .Net 3.5 installed if you're using service pack 20 or previous of the Crystal runtime engine. For service pack 21 and later, there is a newer driver which works with .Net 4. 
18) The last screen you will see prior to completion is this one. This final step copies the specific Report Runner Unified executable to be used based on the Crystal runtime service pack installed. If you modify service packs later, you may need to rerun the Report Runner Updater so the correct executable is installed. Again, ALL Crystal runtime engine service packs are supported, but you need to have the correct executable installed. 
19) After installation is complete, review the following notice regarding licensing and/or getting an evaluation license agreement, select "I am ready to become a Report Hero" and click Next.
NOTE: By default, the first time the software is installed on a machine, you receive a 3 day evaluation license. This ensures that you can begin using the software immediately. Uninstalling does not remove this 3 day evaluation, so if you want a longer evaluation, you must contact us. 

20) Installation is complete! Click Finish. 
21) Start up the newly installed software and enjoy!
Note: By default we set licensing using our licensing server at https://v2.knownapi.com. Depending on your licensing, you need to maintain an open connection to our licensing server. If you have any problems with this or can't get out to the Internet, we will need to issue you a machine-based license. Depending on your licensing, this may incur additional costs. You will need to send us your latest log file (under Help, Debugging) for us to activate it on your machine.
You can test basic access to this server here:
https://v2.knownapi.com/test.txt
--- 
Possible Installation Errors/Issues:
---
Other Helpful Links: